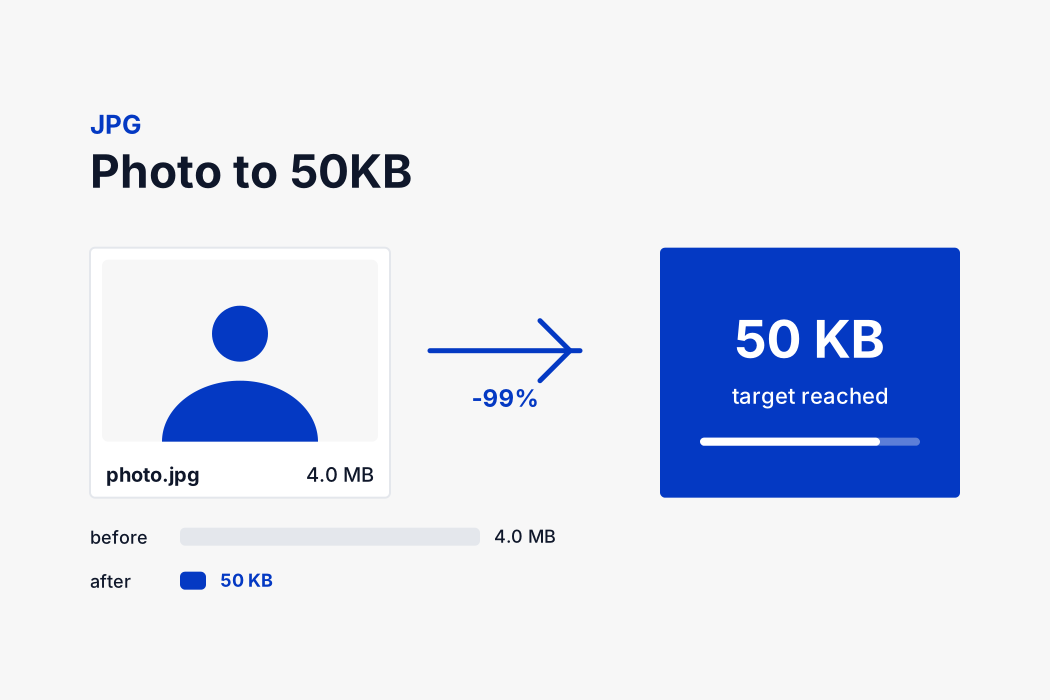
How the compressor finds the right setting
When you set a target of 50 KB, the tool does not simply pick a fixed quality number and hope. It searches.
Your browser decodes the image and redraws it onto a canvas. It then re-encodes that canvas as a JPEG at a high quality setting and measures the result. If the file is already under your target, that is the answer and the job is done. If it is over, the tool halves the range and tries again, then again, narrowing in on the highest quality value that still produces a file below your limit. Eight passes are enough to land within a fraction of a percent of the ideal setting.
If even the lowest sensible quality cannot reach the target, which happens with very large or very detailed images, the tool changes approach. Instead of destroying the image with extreme compression, it reduces the pixel dimensions slightly and runs the quality search again. A photograph at eighty percent of its original width that still looks sharp is far more likely to be accepted than a full sized one covered in compression artefacts.
All of that happens on your own device. The image is never uploaded, which is why the result appears almost immediately and why there is no queue even when you drop in a dozen files at once.
What actually changes when you compress a JPG
JPEG compression is lossy, which means it permanently discards information. Understanding what it discards explains why a good compressor can cut a file by ninety percent while the picture still looks fine.
The format splits the image into eight by eight pixel blocks and describes each block as a set of frequency patterns rather than as individual pixels. Low frequency information, the broad shapes and gradual tones, is kept in detail. High frequency information, the very fine texture and sharp noise, is stored coarsely or dropped entirely. Human eyes are far more sensitive to brightness than to colour, so JPEG also stores colour at a lower resolution than brightness. None of this is visible at normal viewing size until you push the quality setting very low.
At high quality the discarded detail is genuinely invisible. As the quality drops you start to see the block structure appear around sharp edges, colour bleeding around text, and a mottled look in areas of flat colour like a plain background or a shirt. The point of the search described above is to stop just before that happens.
Choosing the output format
The tool lets you pick what the compressed file comes out as, and the right answer depends on what the form will accept.
JPG is the default and the correct choice in almost every case. It is the only format that can be compressed to an arbitrary target size, because you can turn the quality dial continuously. It is also the format every upload portal in the world accepts without argument.
PNG is lossless. It keeps every pixel exactly and supports a transparent background, which makes it right for logos, screenshots and line art. It cannot be squeezed to a specific target the way JPG can, because there is no quality setting to turn. If you pick PNG and set a small target, the only lever available is reducing the pixel dimensions, so the image gets physically smaller rather than more compressed.
WebP compresses roughly twenty five to thirty percent harder than JPG at the same visible quality, which means a WebP file at 50 KB looks better than a JPG at 50 KB. Every current browser supports it. The catch is that older desktop software and many government upload portals still reject it, so use WebP for your own website and JPG for anything you have to submit to someone else.